未來板Kittenblock編程快速入門
Kittenblock是未來板的主要編程平台。
Kittenblock下載: Kittenblock安裝

使用數據線連接未來板
要在Kittenblock對未來板編程,我們首先要與未來板建立連接。
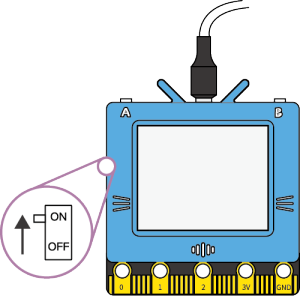
1. 將未來板連接電腦,並打開電源。
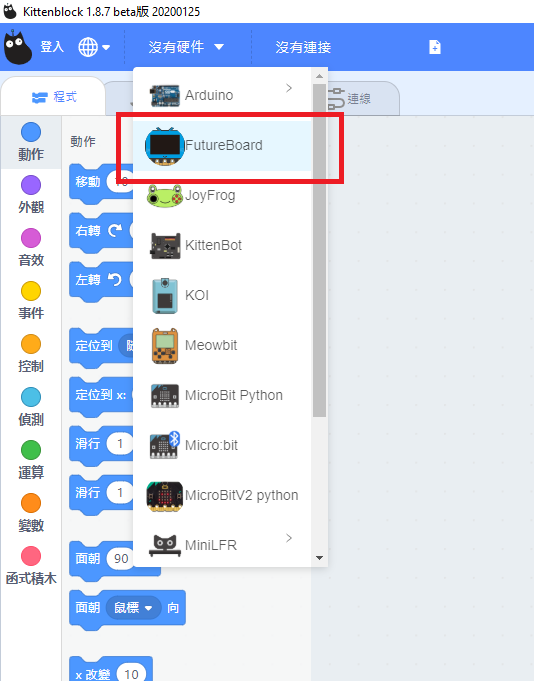
2. 打開Kittenblock,在硬件欄選擇未來板。
3. 點擊感嘆號,連接未來板。
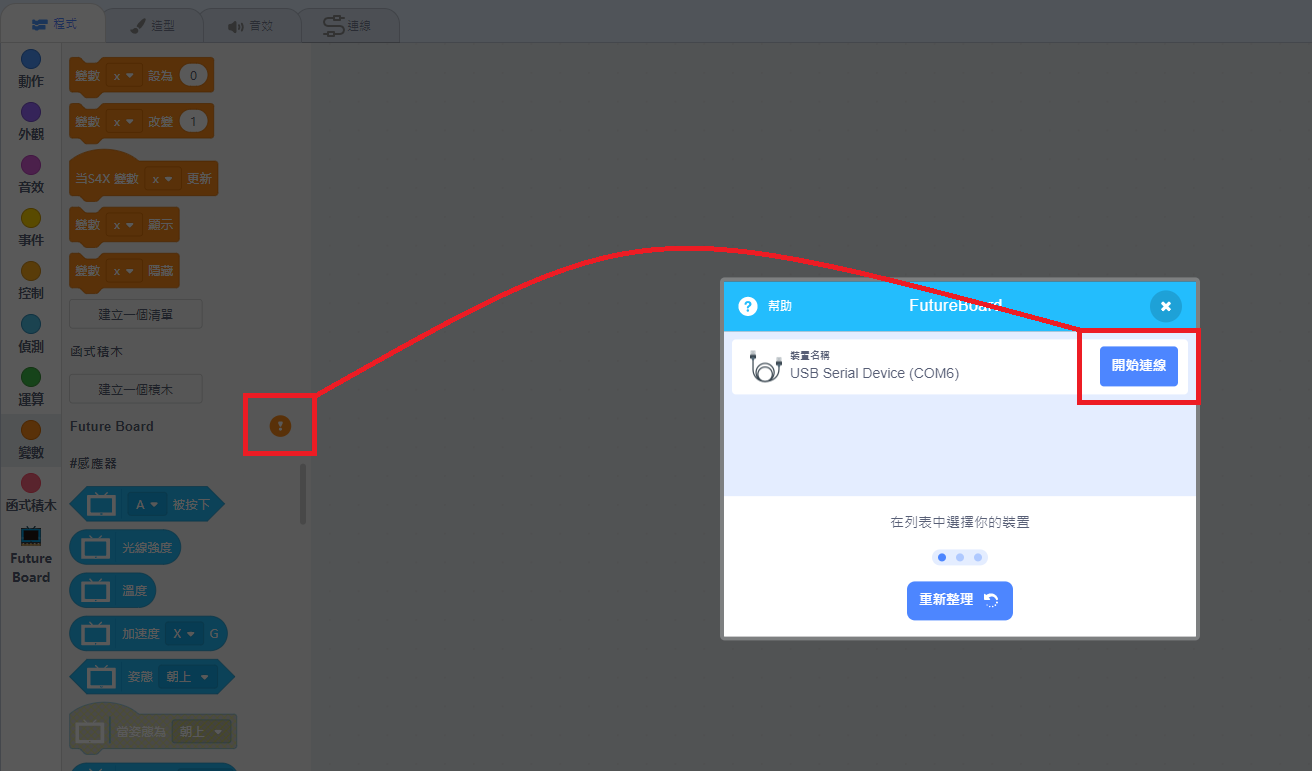
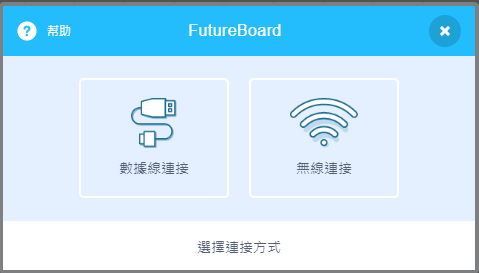
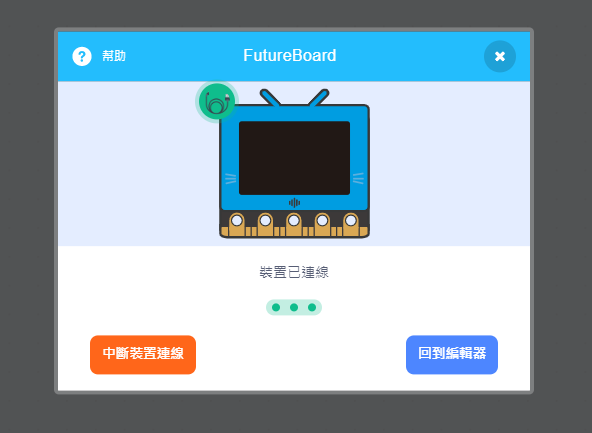
選擇數據線連接。
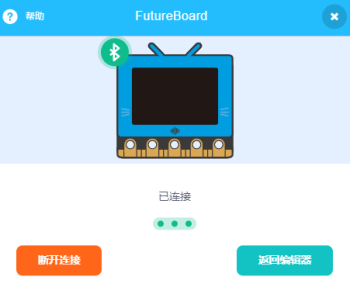
等待數秒,未來板會自動連接Kittenblock。
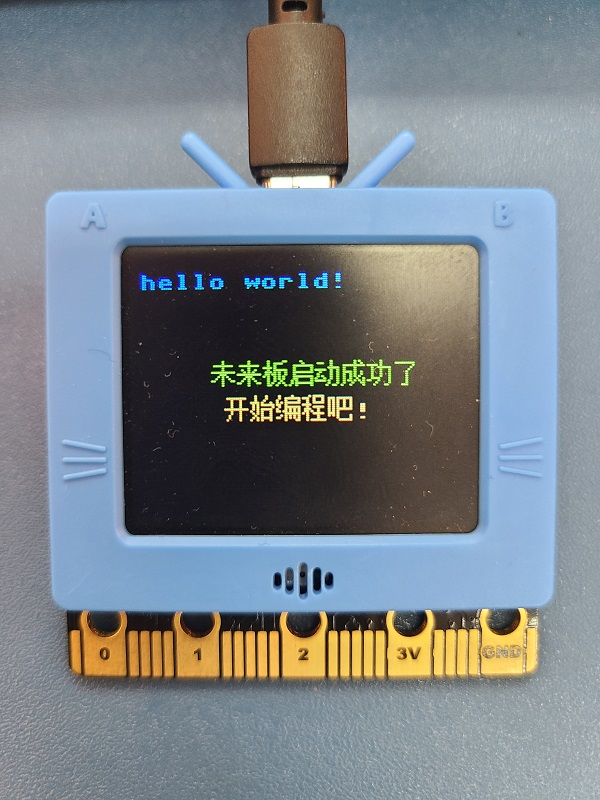
等待數秒,未來板上會顯示hello world的字句。
假如你使用Windows 7作業系統,系統可能缺乏所需的串口驅動程式。請下載此檔案,手動安裝驅動程式。
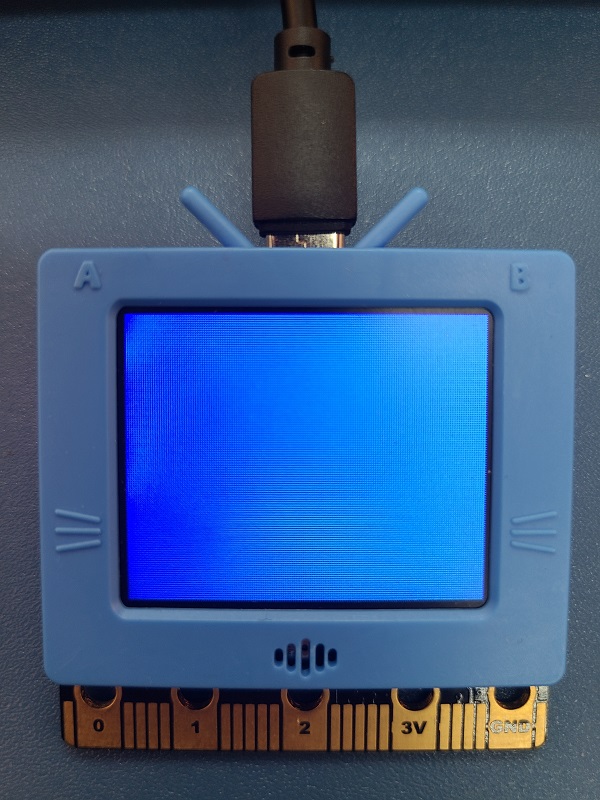
4. 點擊積木,測試連接。
點擊Kittenblock的積木,未來板應該會即時作出反應。

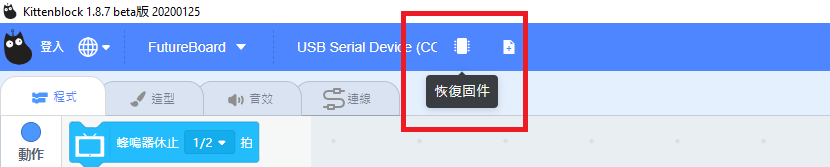
假如點擊後沒有反應,請點擊恢復固件。
使用無綫網絡連接未來板(需要微信賬號)
要在Kittenblock對未來板編程,我們首先要與未來板建立連接。
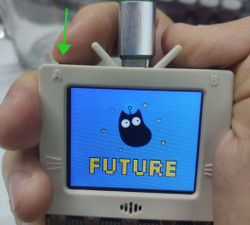
1. 將未來板打開電源。
2. 打開Kittenblock,在硬件欄選擇未來板。
3. 點擊感嘆號,連接未來板。
選擇無綫連接。
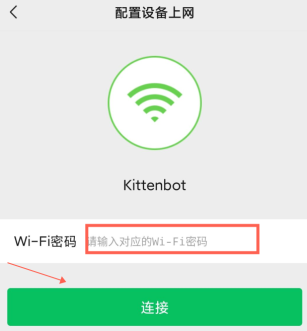
手機連上路由器(5Ghz 網絡不適用)。
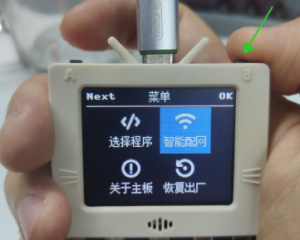
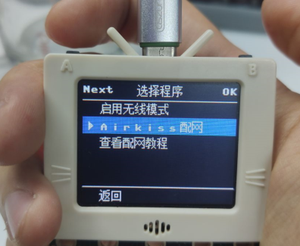
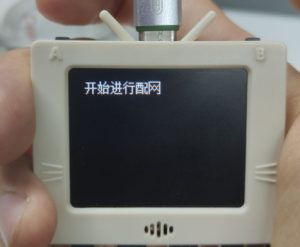
未來板開啟Airkiss模式。
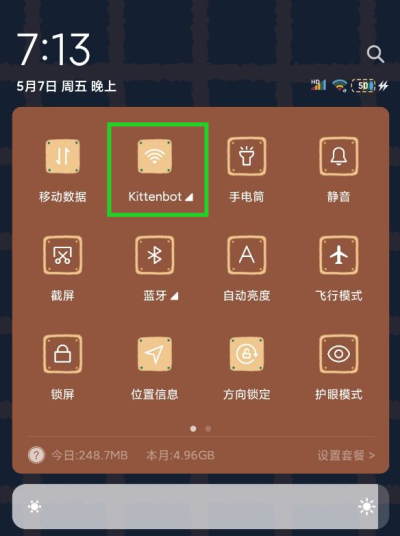
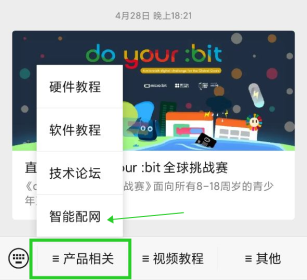
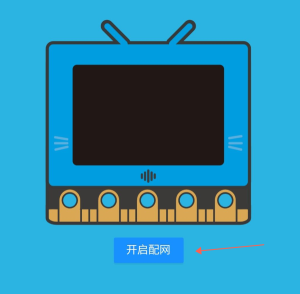
在微信關注Kittenbot帳號,然後在下方點擊智能配網。
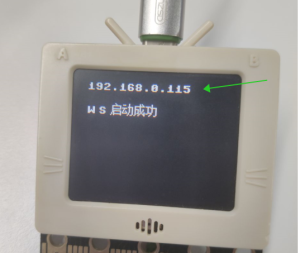

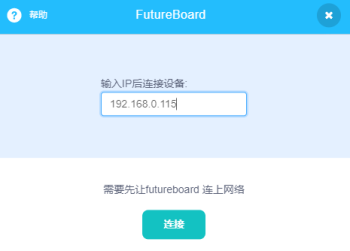
在Kittenblock輸入未來板的IP地址。
Windows 7用家注意事項
由於Windows 7可能缺乏驅動程式,請下載此檔案,手動安裝驅動程式。